The Pivotal Role of TP-Link Extenders in Home WiFi Networks
TP-Link extenders serve an essential function in modern homes, where the need for uninterrupted internet spans across multiple rooms and often to multiple floors. The key to their utility lies in how they amplify existing WiFi signals, ensuring that the connections reach further than they originally could. As our reliance on smart home devices and online streaming continues to grow, having a TP-Link extender setup in the right location can make all the difference in maintaining strong links to the internet, wherever you are in your home.
A Quick Glance at TP-Link Extender Models
TP-Link offers a range of extenders, each with features tailored to various needs:
- TP-Link RE650 – Best for large homes with high bandwidth activities.
- TP-Link TL-WA855RE – A perfect blend of affordability and performance for smaller spaces.
- TP-Link RE450 – Strikes a balance between price and performance for the average user.
Selecting the right model will depend on the size of your area, the number of devices that need to connect, and the types of activities those devices will engage in.
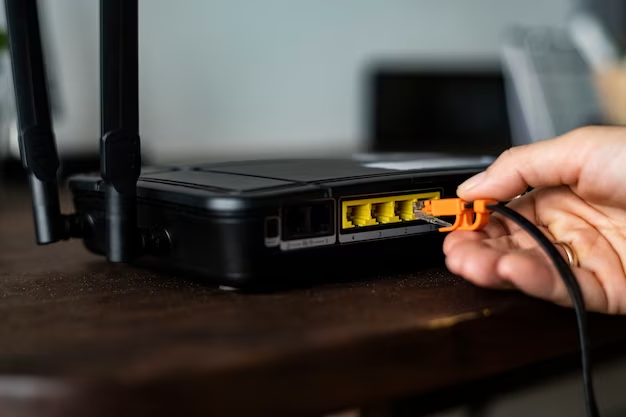
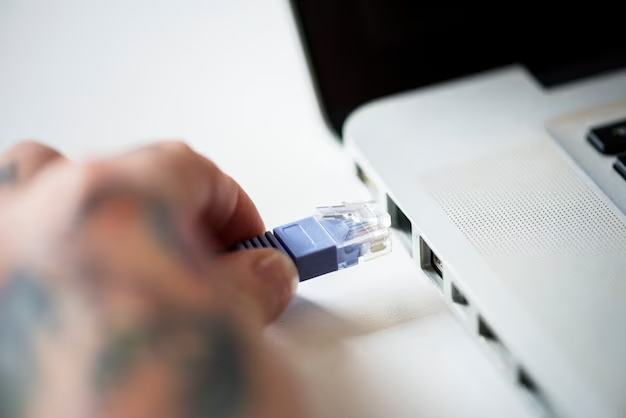
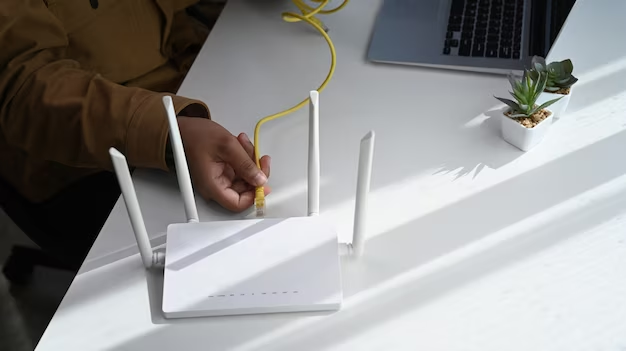
Simplifying the Setup Process of TP-Link Extenders
One of the strengths of TP-Link extenders is their straightforward setup process. Here’s a basic rundown of the steps involved:
- Plug the extender into a power socket near your router.
- Connect to the extender’s network via WiFi.
- Access the TP-Link setup page through a web browser or the Tether app.
- Follow the on-screen instructions to link the extender to your existing router.
- Relocate the extender to an optimal position that’s roughly halfway between the router and the area with weak signal.
These setups often take mere minutes and can lead to a dramatically improved WiFi experience. TP-Link’s extender line is designed to integrate easily with existing networks, ensuring that your home’s WiFi will gain the extended coverage it needs.
TP-Link Extenders and Their Effect on WiFi Performance
When you introduce a TP-Link extender into your home network, the expected outcomes are multifold:
- Enhanced overall WiFi coverage
- Reduced WiFi dead zones
- Improved connectivity for multiple devices
- Seamless streaming and gaming experiences
- Stability for smart home connections
Continued in the second half of this article, we’ll explore how these outcomes are achieved and delve into user experiences and troubleshooting common issues.
Factors Influencing the Placement and Performance of TP-Link Extenders
While knowing that extenders can improve your WiFi network is valuable, understanding how to optimize their performance is even more critical. Here’s a table highlighting the factors to consider when placing your TP-Link extender for maximum effectiveness:
| Factor | Description | Impact on Performance |
|---|---|---|
| Distance from Main Router | TP-Link extenders should be placed within the router’s effective range. | Critical |
| Obstructions | Walls and large objects can weaken the signal. Placement should minimize obstructions. | Considerable |
| Interference from Devices | Other electronics and appliances could cause interference. Place away from these sources. | Moderate |
| Number of Users | High traffic may require a more central or strategic placement for even distribution. | Moderate |
| WiFi Band | Dual-band extenders can offer separate frequencies (2.4GHz and 5GHz) for different needs. | Important |
Achieving Optimal Outcomes with TP-Link Extenders
To ensure that you reap the benefits of your TP-Link extender to the fullest, it’s crucial to continuously monitor and adjust the setup as needed. Users report seeing a marked boon to their WiFi network in the form of expanded coverage and smoother online experiences across all connected devices. When TP-Link extenders are configured optimally, you can also expect:
- A single network name (SSID) for ease of use, as some extenders offer seamless roaming capabilities.
- Flexible connectivity options with Ethernet ports that allow wired connections to stationary devices for higher stability.
- Advanced features such as High-Speed Mode and Access Control settings to fine-tune your network’s performance and security.
User feedback often highlights the importance of regular firmware updates provided by TP-Link to ensure extenders operate with the latest enhancements and security features. Furthermore, the TP-Link Tether app offers an intuitive interface that allows parents to apply controls and oversee internet usage, making it an indispensable tool for family households.
Optimizing Placement and Performance Factors
Beyond initial setup, users should consider periodic assessments of their TP-Link extender’s performance. Factors such as newly added electronics, furniture changes, or even variations in home occupancy could influence the effectiveness of your extender. Addressing these aspects not only solidifies WiFi strength but also future-proofs your home network.
- Regularly reassess the extender’s location in relation to the main router and any emerging signal-blocking obstacles.
- Update the extender’s firmware via the TP-Link Tether app to ensure it has the latest software enhancements and security patches.
- Experiment with the extender’s adjustable antennas, if available, to maximize the signal spread throughout your home.
Bear in mind that some trial and error might be involved to find the “sweet spot” for your extender’s location after any significant layout changes in your home. Feedback from many TP-Link users underscores the importance of such adjustments in preserving an optimal networking environment.
Troubleshooting Common TP-Link Extender Issues
While TP-Link extenders are typically robust and user-friendly, users may occasionally encounter issues. Common challenges include signal drop-outs, intermittent connectivity, or difficulty in accessing the extender’s settings. Addressing these concerns generally involves:
- Restarting the extender to refresh its connections.
- Checking for and minimizing sources of WiFi interference like microwaves or cordless phones.
- Ensuring the extender’s firmware is up to date for optimal performance and compatibility.
Users who have faced such issues suggest that a consistent strategy for troubleshooting can swiftly restore normal function and minimize downtime.

Conclusion
Setting up your TP-Link extender can greatly enhance your Wi-Fi coverage and improve your overall network experience. By following the steps outlined in this guide, you can easily extend the range of your wireless network and eliminate dead zones in your home or office.
Remember to carefully read the user manual provided with your TP-Link extender for specific instructions and troubleshooting tips. Additionally, regularly check for firmware updates to ensure your extender is operating at its best.
With your TP-Link extender properly set up, you can enjoy seamless connectivity and better Wi-Fi performance throughout your space.
FAQs
1. How do I connect my TP-Link extender to my router?
To connect your TP-Link extender to your router, follow these steps:
- Plug in your extender near your router.
- Press the WPS button on your router, then within 2 minutes, press the WPS button on your extender.
- Wait until the extender’s LED lights turn solid green, indicating a successful connection.
If your router doesn’t have a WPS button, you can connect your extender using the web interface:
- Connect your computer or smartphone to the extender’s default Wi-Fi network.
- Open a web browser and enter http://tplinkrepeater.net or http://192.168.0.254 in the address bar.
- Follow the on-screen instructions to complete the setup process.
3. Can I change the SSID and password of my TP-Link extender?
Yes, you can change the SSID and password of your extender to personalize your network:
- Access the web interface of your extender using a web browser.
- Navigate to the settings or wireless section.
- Modify the SSID and password as desired, then save your changes.
4. How can I reset my TP-Link extender to factory defaults?
To reset your TP-Link extender to factory defaults, follow these steps:
- Locate the reset button on your extender (usually a small hole).
- Use a paperclip or similar tool to press and hold the reset button for 10 seconds.
- Release the reset button when the LED lights on the extender start blinking.
5. What should I do if my TP-Link extender keeps disconnecting?
If your TP-Link extender keeps disconnecting, try the following troubleshooting steps:
- Move the extender closer to your router to ensure a stable connection.
- Check for interference from other electronic devices and relocate the extender if necessary.
- Update the firmware of your extender to the latest version.
- Reset the extender to factory defaults and reconfigure it from scratch.